Mar 2, 2026 · 4 min read
Why Your Sourdough Starter Sulks in Winter
If your starter doubled happily in summer and now barely stirs, it is probably cold rather than failing. Learn what temperature does to wild yeast, where to find warm spots at home, and how to adjust feedings and timelines.
Words by Dev Anand Pillai
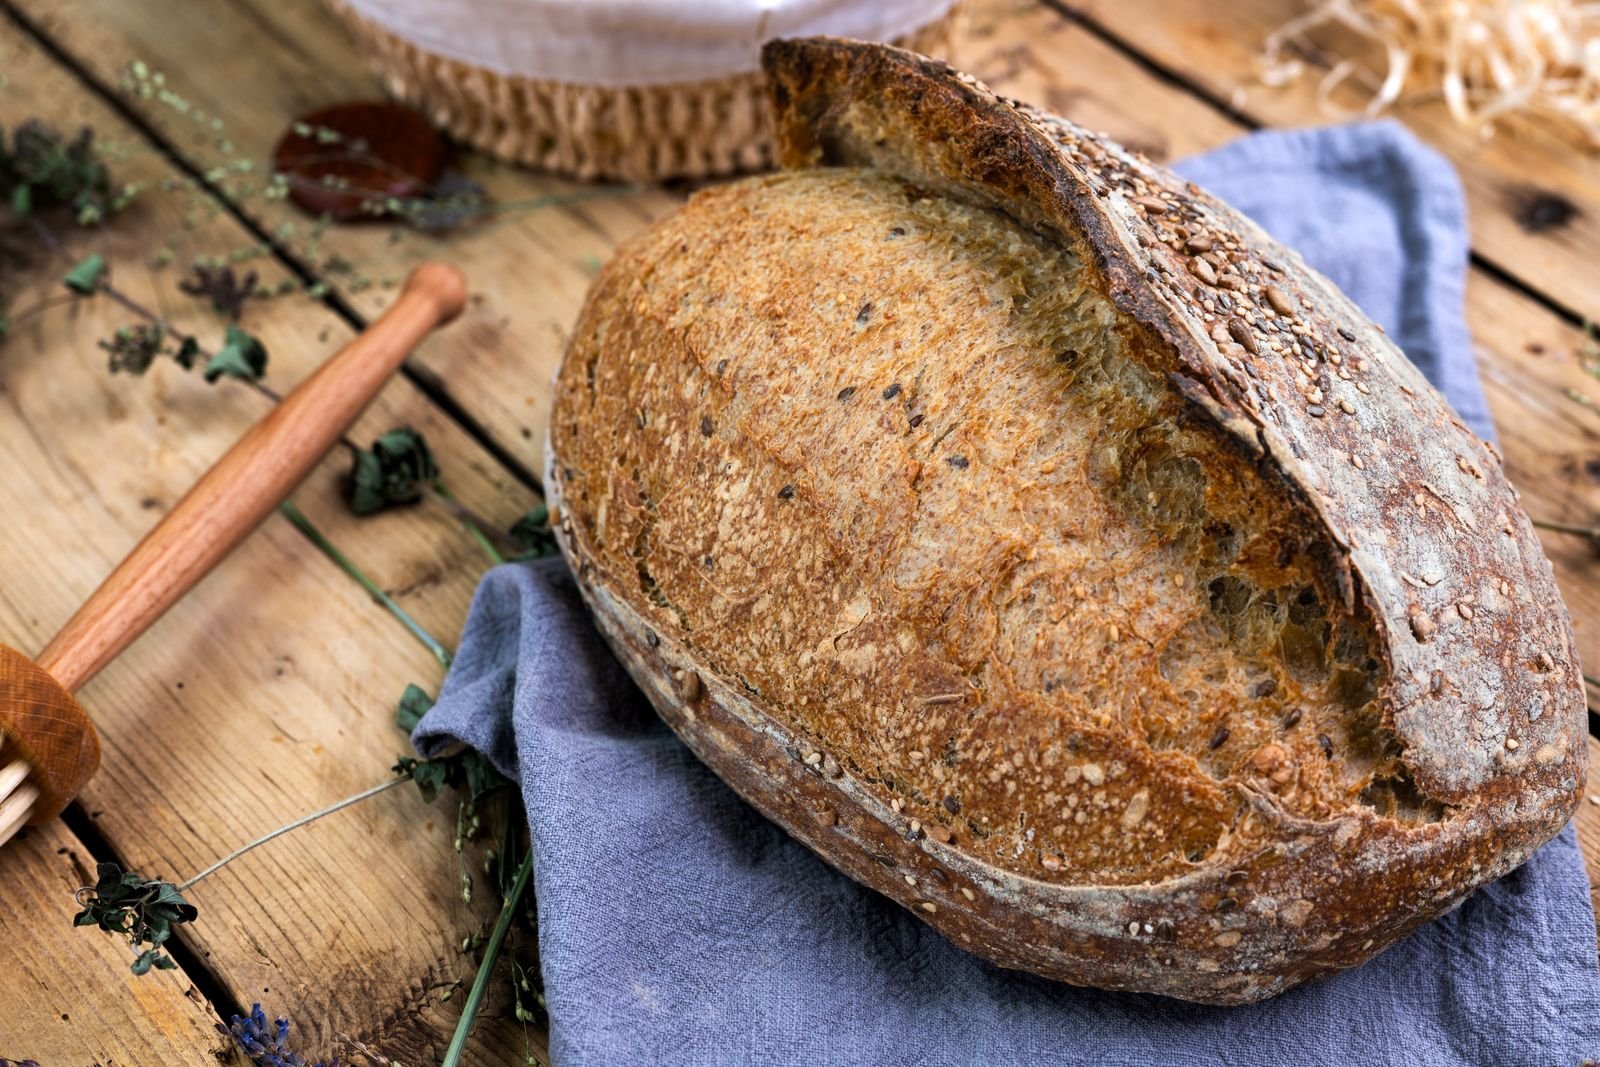
In August, your starter doubles in four hours and practically climbs out of the jar. In January, it sits there like a houseguest with no intention of leaving the couch. You did not do anything wrong. Your starter is simply cold, and the microbes that power it slow down considerably when the kitchen does.
What is happening in the jar
A sourdough starter is a community of wild yeasts and lactic acid bacteria living in flour and water. The yeasts produce carbon dioxide, which makes the starter rise, and the bacteria produce the acids that give sourdough its tang. Both are sensitive to temperature and are happiest somewhere around 75F to 82F. Drop the kitchen into the mid 60s and fermentation can take roughly twice as long. The culture is not dead or weak; it is working at a winter pace.
Cooler temperatures also tip the balance toward acetic acid, which is sharper and more vinegary. That is part of why winter loaves often taste more sour, and why a hungry, cold starter can smell faintly like nail polish remover.
Signs your starter is cold, not failing
- It rises, but slowly, taking eight hours or more to peak.
- The bubbles are small and the texture is dense rather than foamy.
- A layer of grayish liquid, often called hooch, collects on top between feedings.
- It smells more sour or boozy than usual.
None of these means you need to start over. Pour off the hooch for a milder flavor or stir it back in for a tangier one, and keep feeding.
Find a warm spot
The simplest fix is moving the jar somewhere warmer. Leave an inexpensive thermometer in a few candidate spots for a day to learn which one holds steady.
- The oven with only the light on. The bulb warms the box gradually, and many ovens drift into the 80s. Check the temperature before trusting it for hours, and tape a note to the door so nobody preheats with the jar inside.
- The microwave with a mug of just-boiled water. The closed box holds warmth for an hour or two. Swap in fresh hot water as it cools.
- On top of the refrigerator, where warm air from the compressor tends to rise.
- A small picnic cooler with a jar of hot water inside, which works as a makeshift proofing box for both starter and dough.
- Near, but not on, a heat source such as a radiator or sunny window. Above about 95F, the culture starts to struggle.
Feed it warm
Use water around 80F to 85F when you feed. It gives the culture a head start. Warm water alone will not keep the jar warm for long, but paired with a cozier spot it makes a clear difference.
Adjust the ratio
If you normally feed at one part starter to five parts flour and five parts water, a cold kitchen may stretch the time to peak well past your schedule. Try a 1:2:2 or even 1:1:1 ratio by weight instead. With less fresh food to work through, the microbes peak sooner. As spring warms the house, return gradually to larger feedings.
Give it some whole grain
Whole wheat and especially rye flour carry more nutrients and naturally occurring microbes than white flour. Replacing 10 to 20 percent of the flour in each feeding with rye often wakes a sluggish starter within a couple of days.
Watch the dough, not the clock
A cold starter makes a cold dough, and timelines written for a warm kitchen will lead you astray. If a recipe says bulk fermentation takes four hours, it might take six or seven in winter. Judge readiness by what you see:
- The dough has grown noticeably, often by about half, depending on the recipe.
- The surface is domed and smooth, with bubbles visible on top and along the sides of the container.
- It jiggles when you shake the container and feels airy under a wet hand.
One helpful trick is to drop a small piece of dough into a narrow, straight-sided jar and mark its starting level with a rubber band. Judging rise in a slim cylinder is far easier than in a wide bowl.
Mixing with warmer water, around 85F to 90F, helps too. Aim for a dough temperature of roughly 76F to 78F right after mixing, and bulk fermentation becomes much more predictable.
Let the cold work for you
Slow fermentation is not all bad news. A longer, cooler proof develops deeper flavor, and many bakers deliberately shape their loaves in the evening and let them rest overnight in the refrigerator. Winter makes that schedule feel natural. A chilled loaf scores more cleanly and often bakes up with a blistered, crackly crust.
Air conditioning counts, too
If you live somewhere hot, you may meet the same problem in summer. A kitchen held at 70F by air conditioning can make a starter just as sleepy as a drafty winter kitchen up north. The same fixes apply in any season.
A sulky starter is usually a cold starter. Warm it up, feed it well, and give it a few days before deciding anything drastic.